1
Deploy code to GitHub
If you haven’t already, push up your cloned repository to GitHub by running the following commands:
Terminal
2
Create a new Vercel project
In your Vercel account, create a new project. Then, select your GitHub repository and click Import.Make sure that your Framework Preset is set to Next.js and the Root Directory is set to 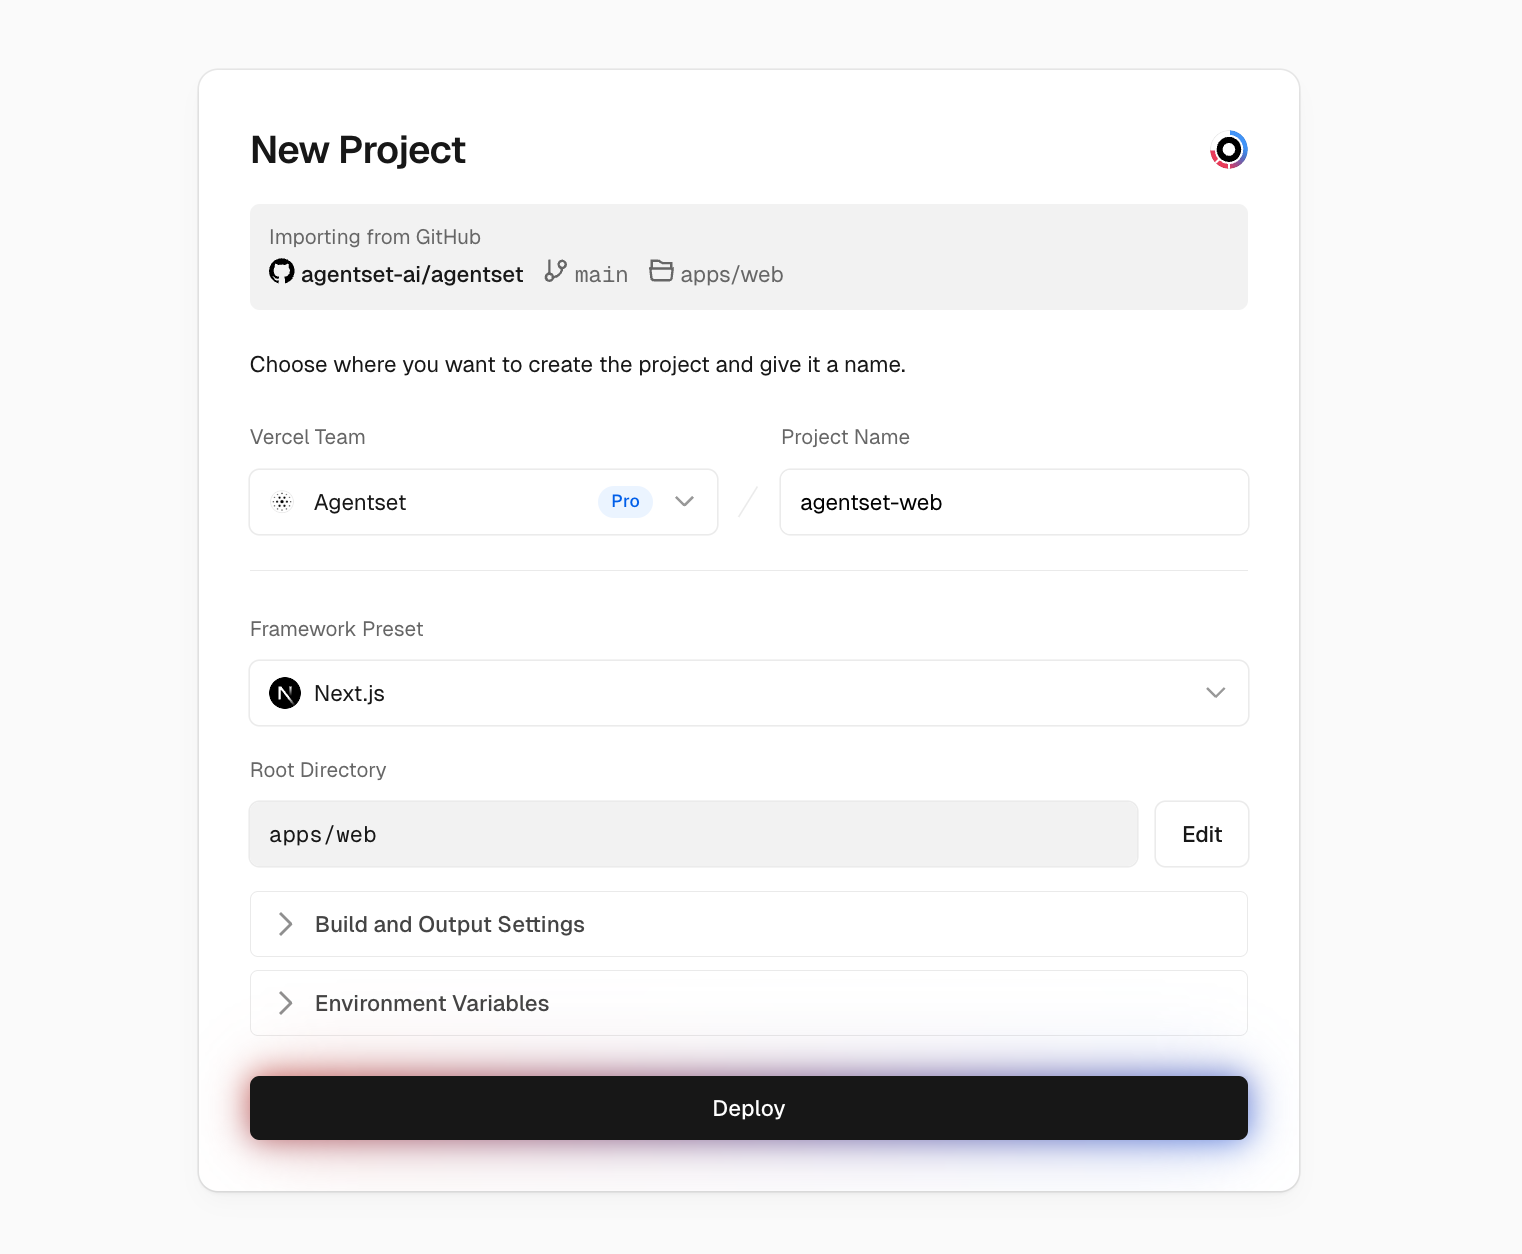
apps/web..env file by copying all of them and pasting it into the first input field. A few notes:- Replace the
BETTER_AUTH_URLenvironment variable with the app domain that you will be using (e.g.https://app.acme.com).
If you get a 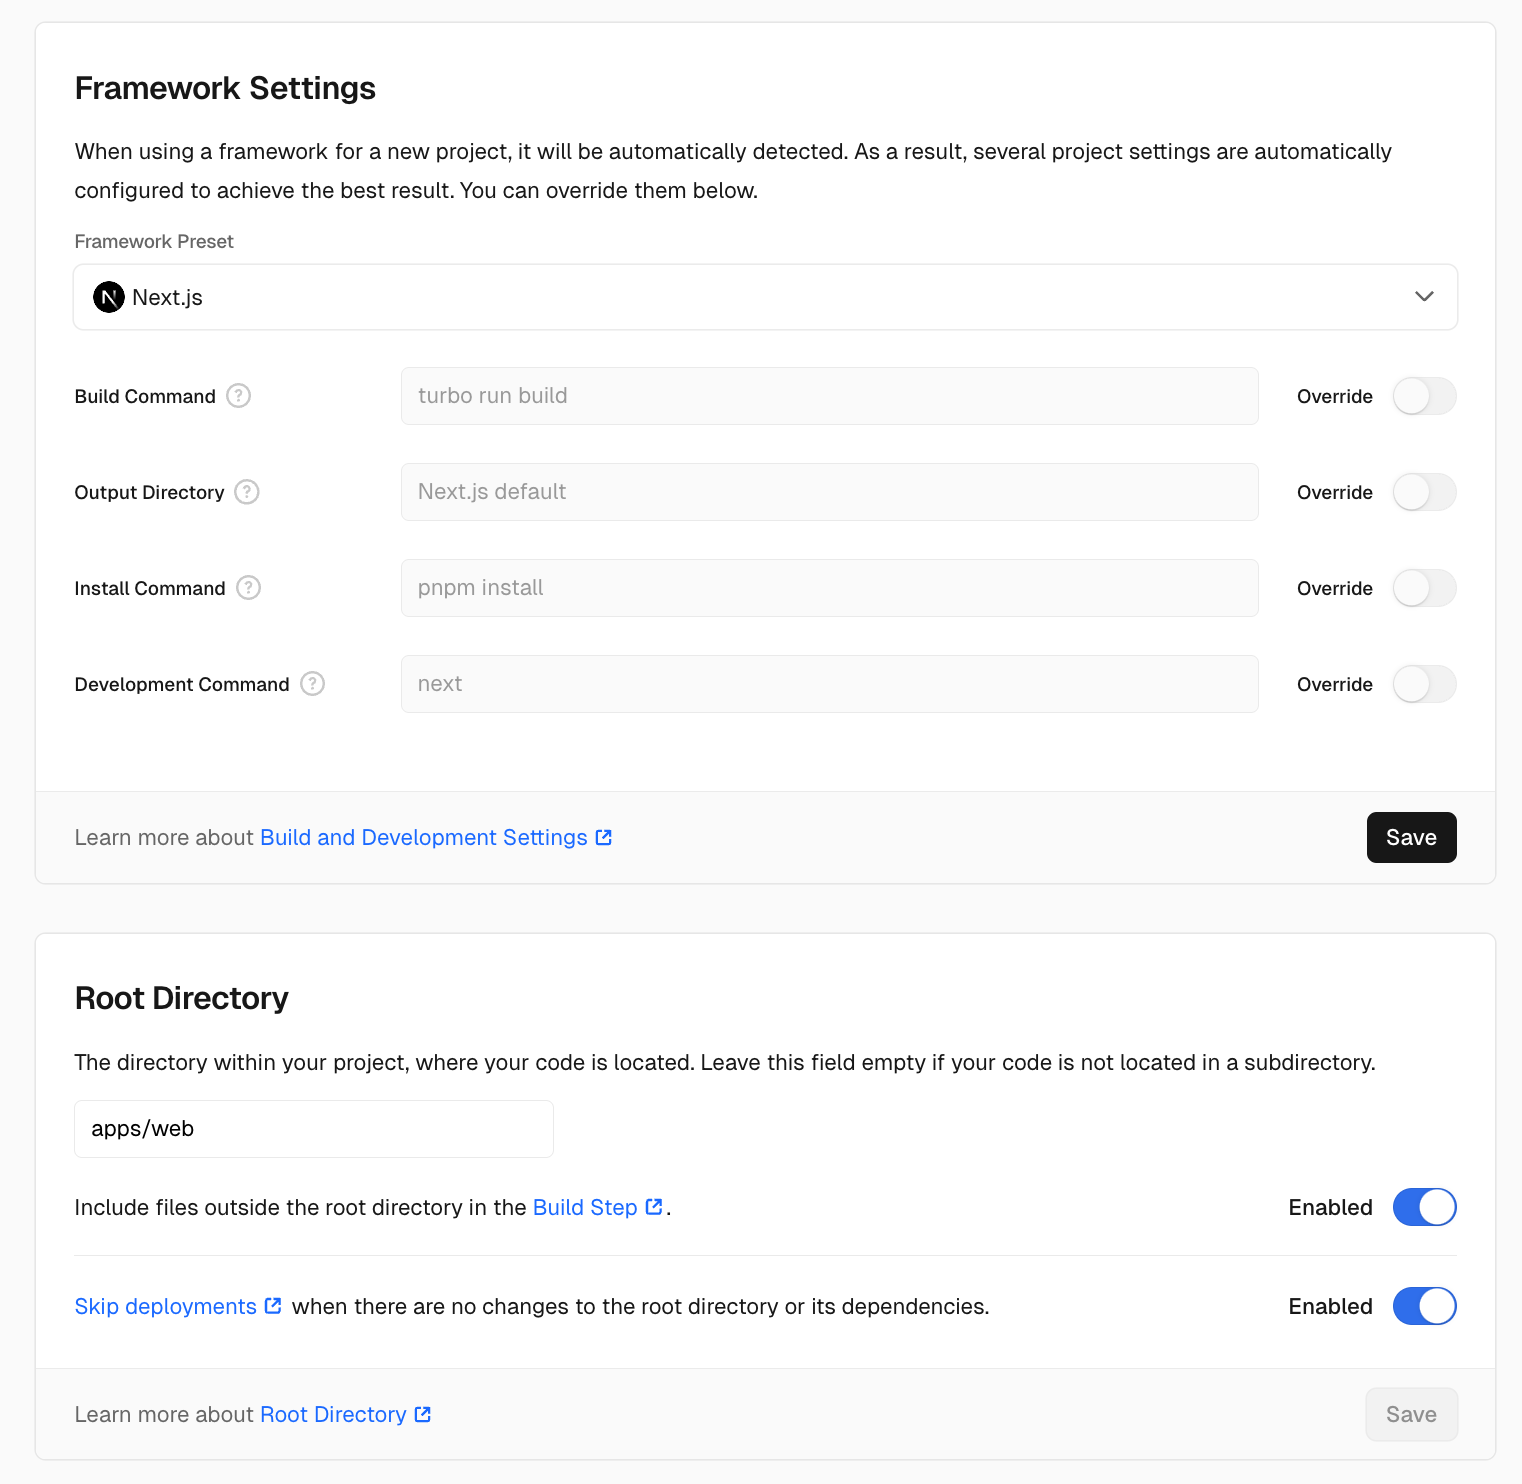
No Output Directory called "public" was found after the build completed error, make sure that your Vercel deployment
settings to make sure that they match the following:3
Done!
Once the deployment is complete, you should be able to visit your app domain (e.g. 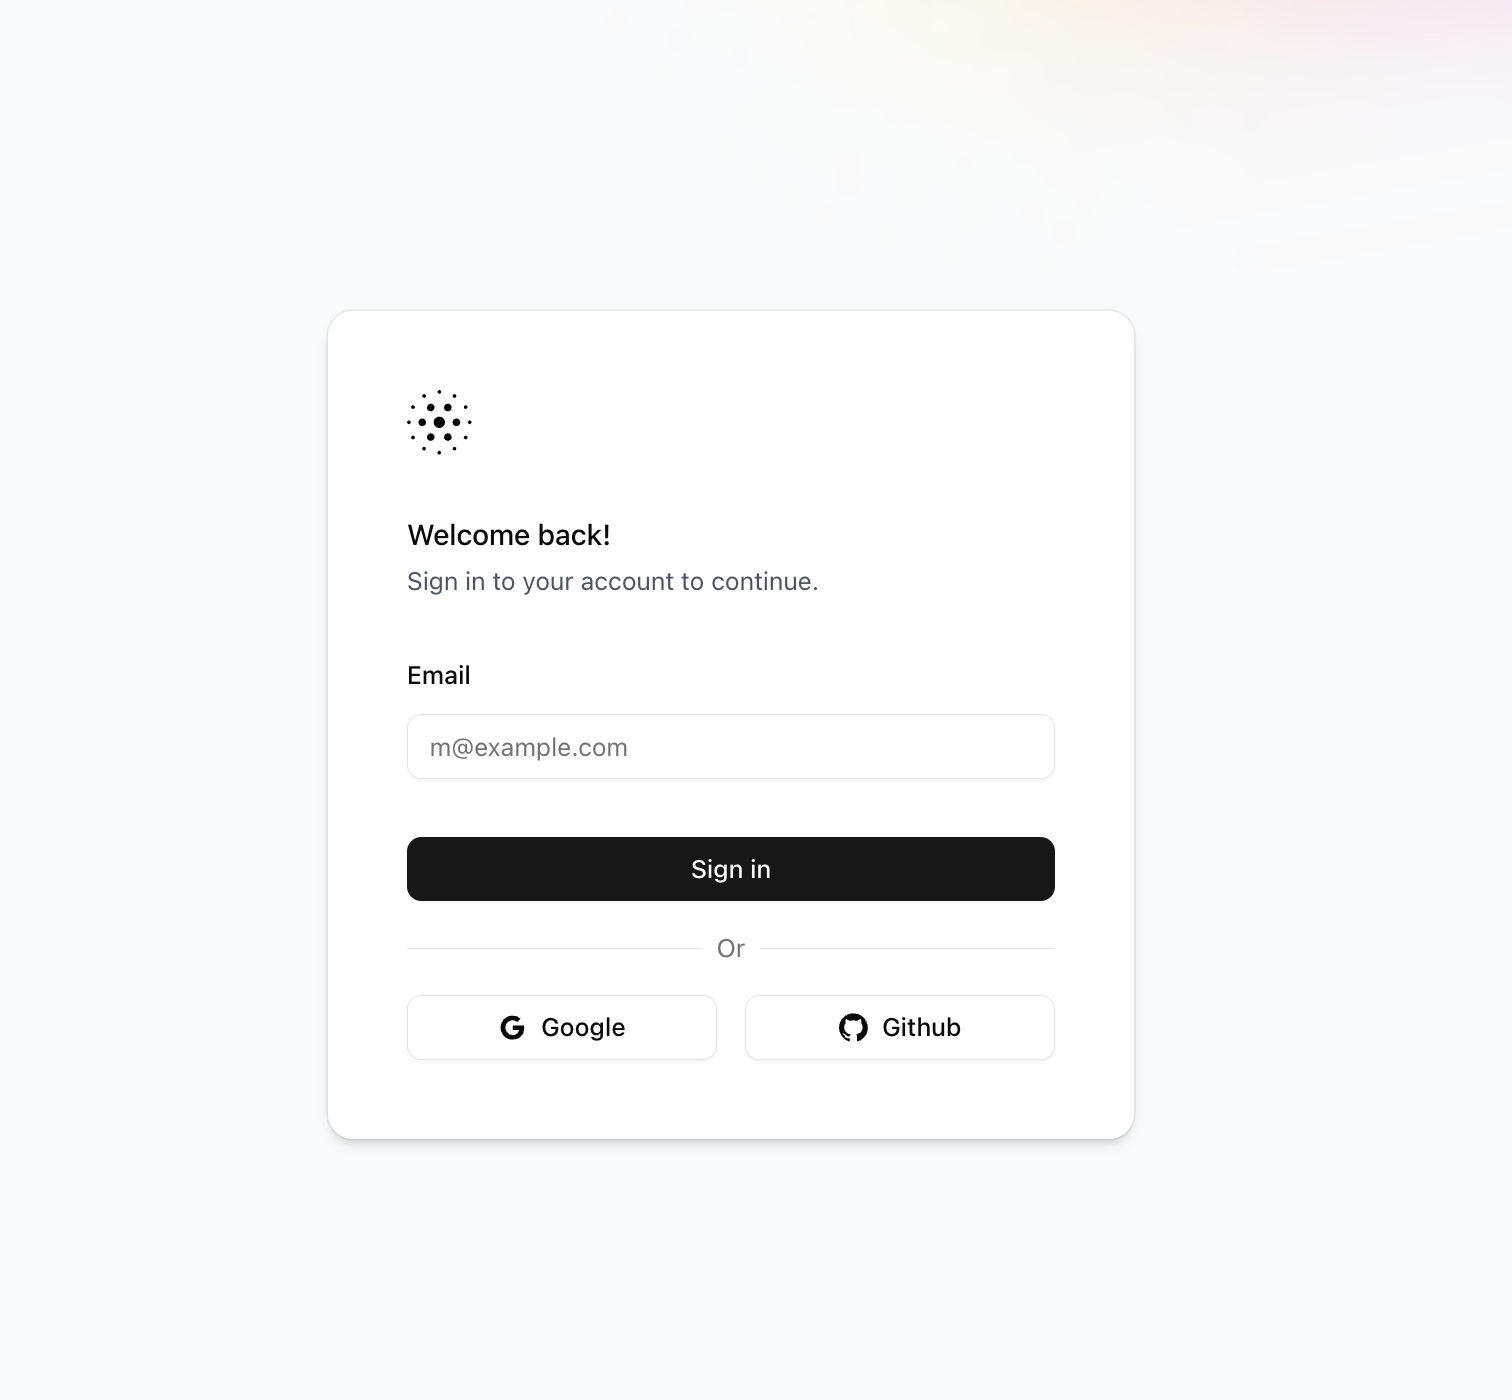
https://app.acme.com) and see the following login page:Next Steps
Congratulations! You’ve successfully self-hosted Agentset. If you run into any issues or have questions, please:- Check out our GitHub repository for the latest updates
- Join our Discord community for support
- Reach out to us at contact@agentset.ai