- Getting notified when a document finishes processing and is ready for search
- Monitoring ingest job progress and handling errors automatically
- Triggering downstream workflows when documents are added or removed
- Building dashboards that reflect real-time document processing status
Creating a webhook
To create a webhook for your Agentset organization, follow these steps:1
Navigate to webhooks settings
Go to the Webhooks settings page in your Agentset dashboard.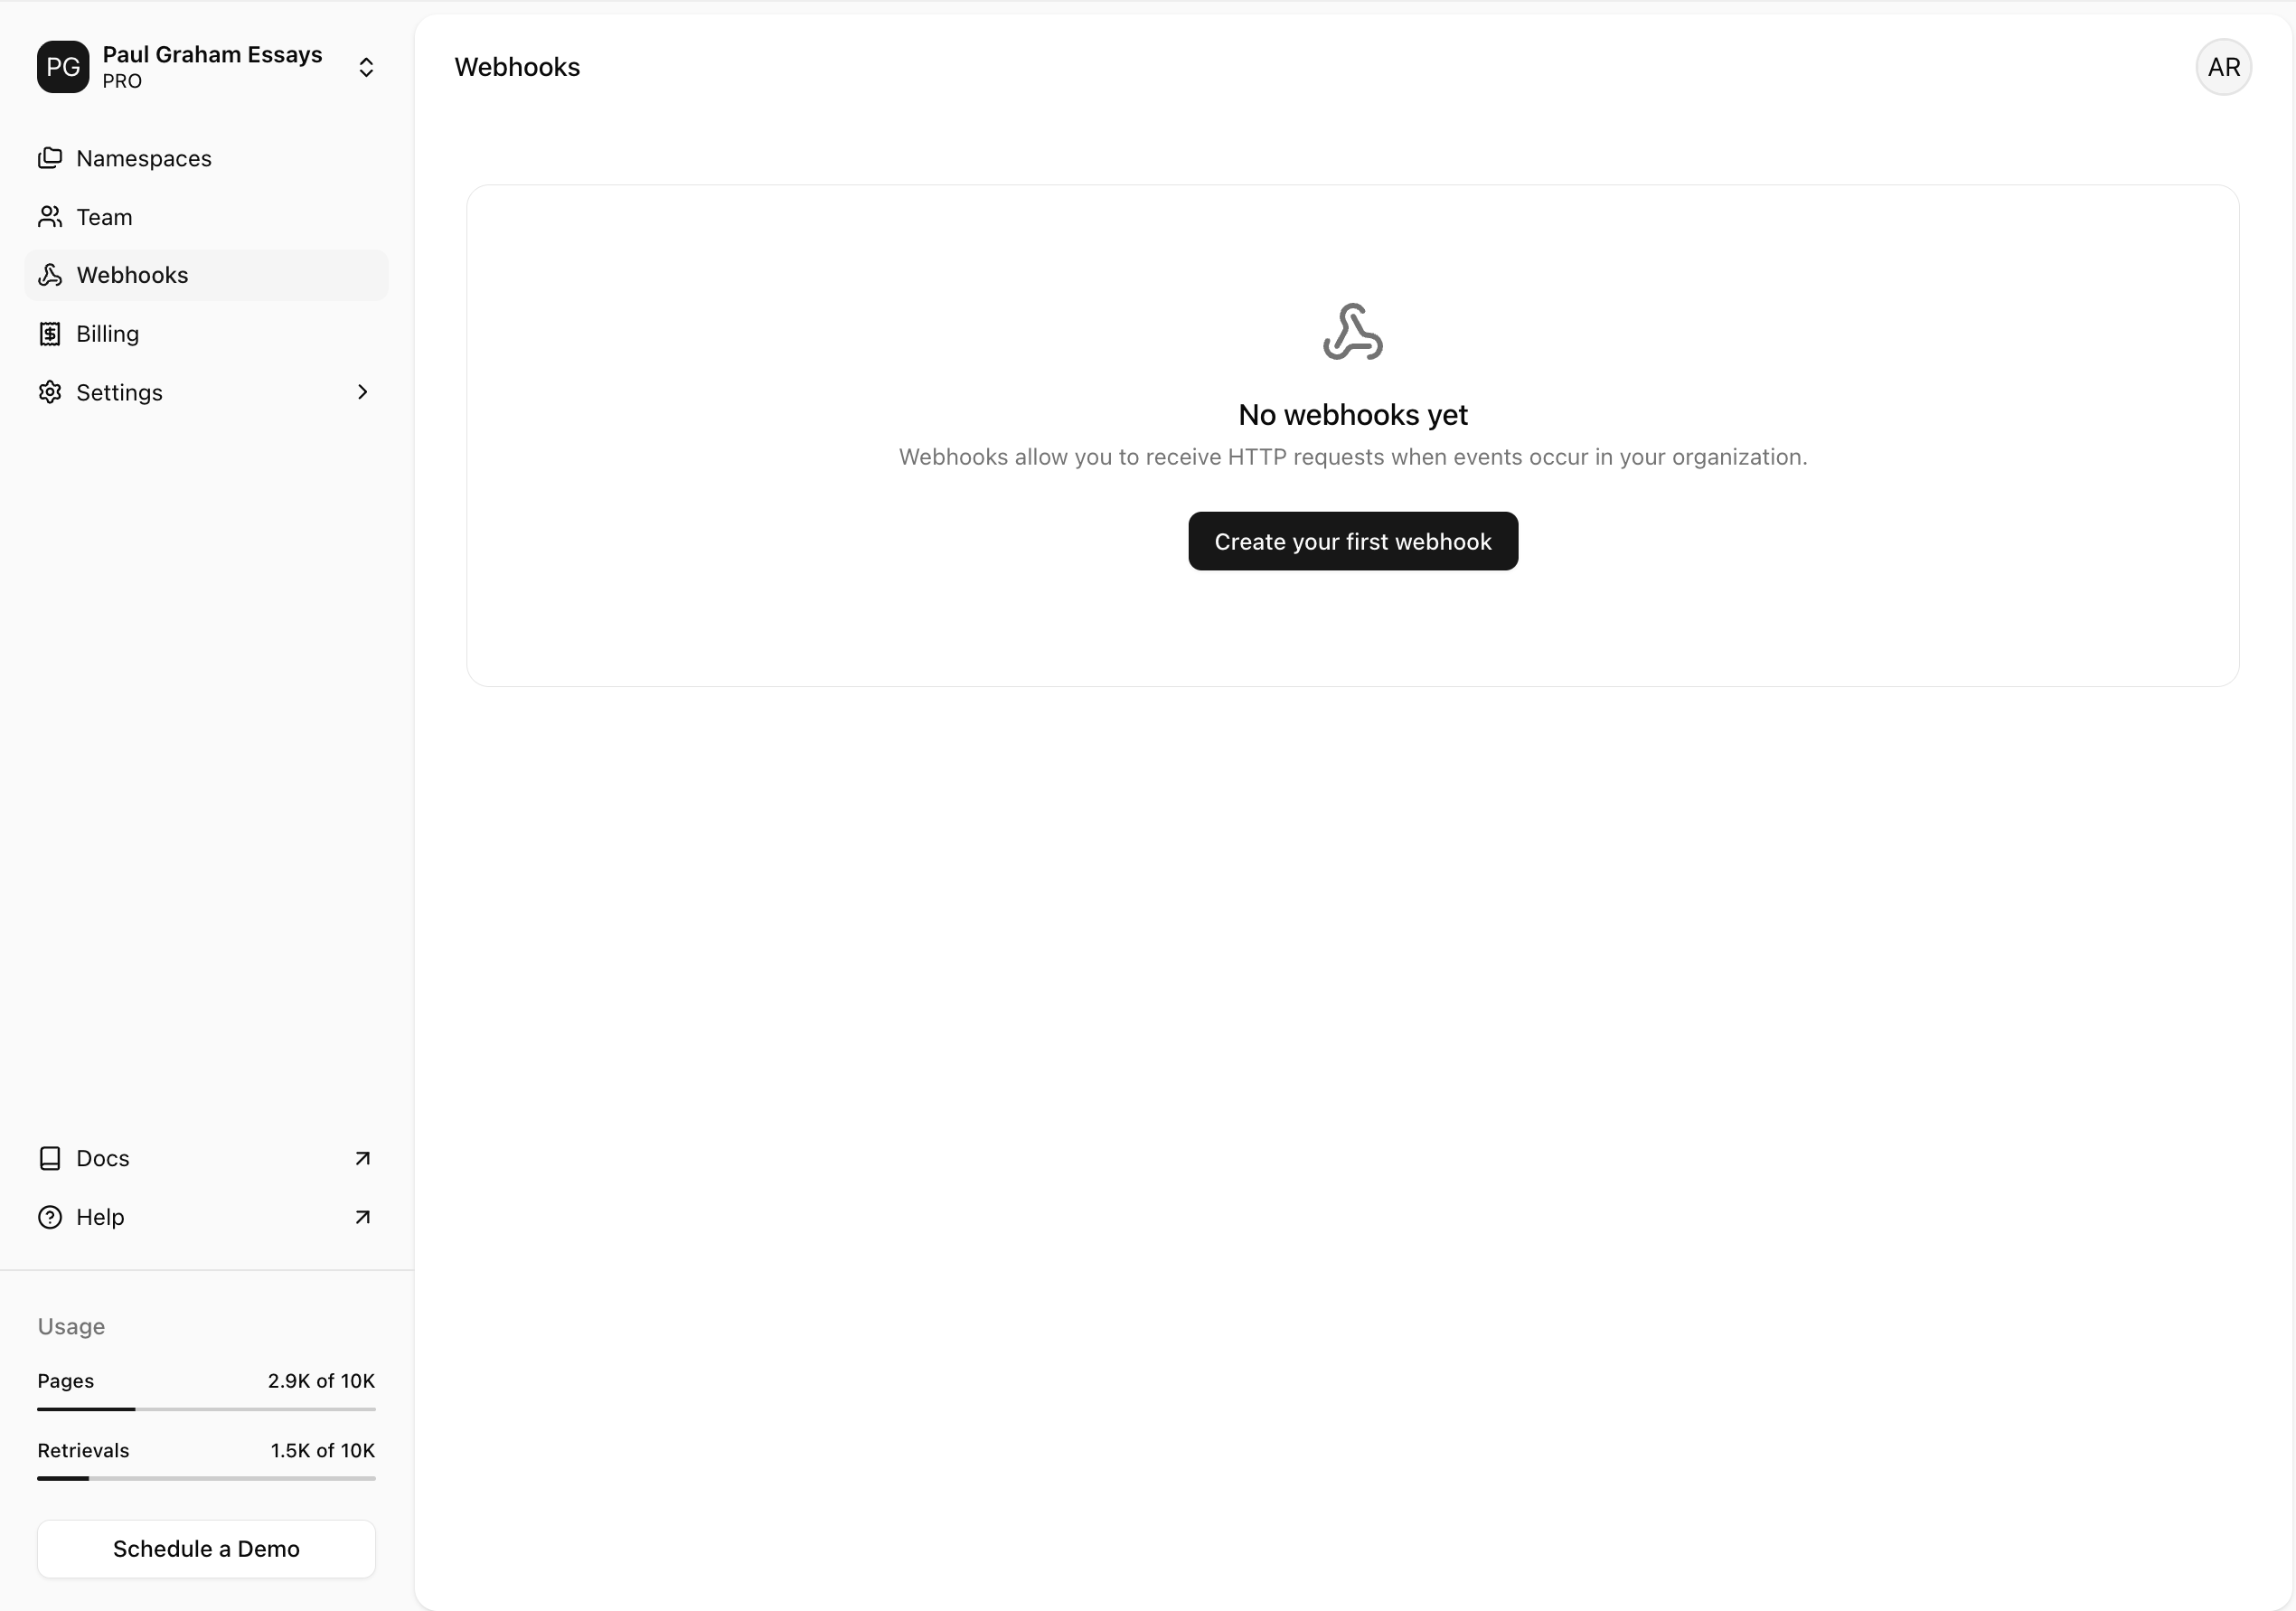
2
Configure your webhook
Fill in the required fields in the webhook creation form: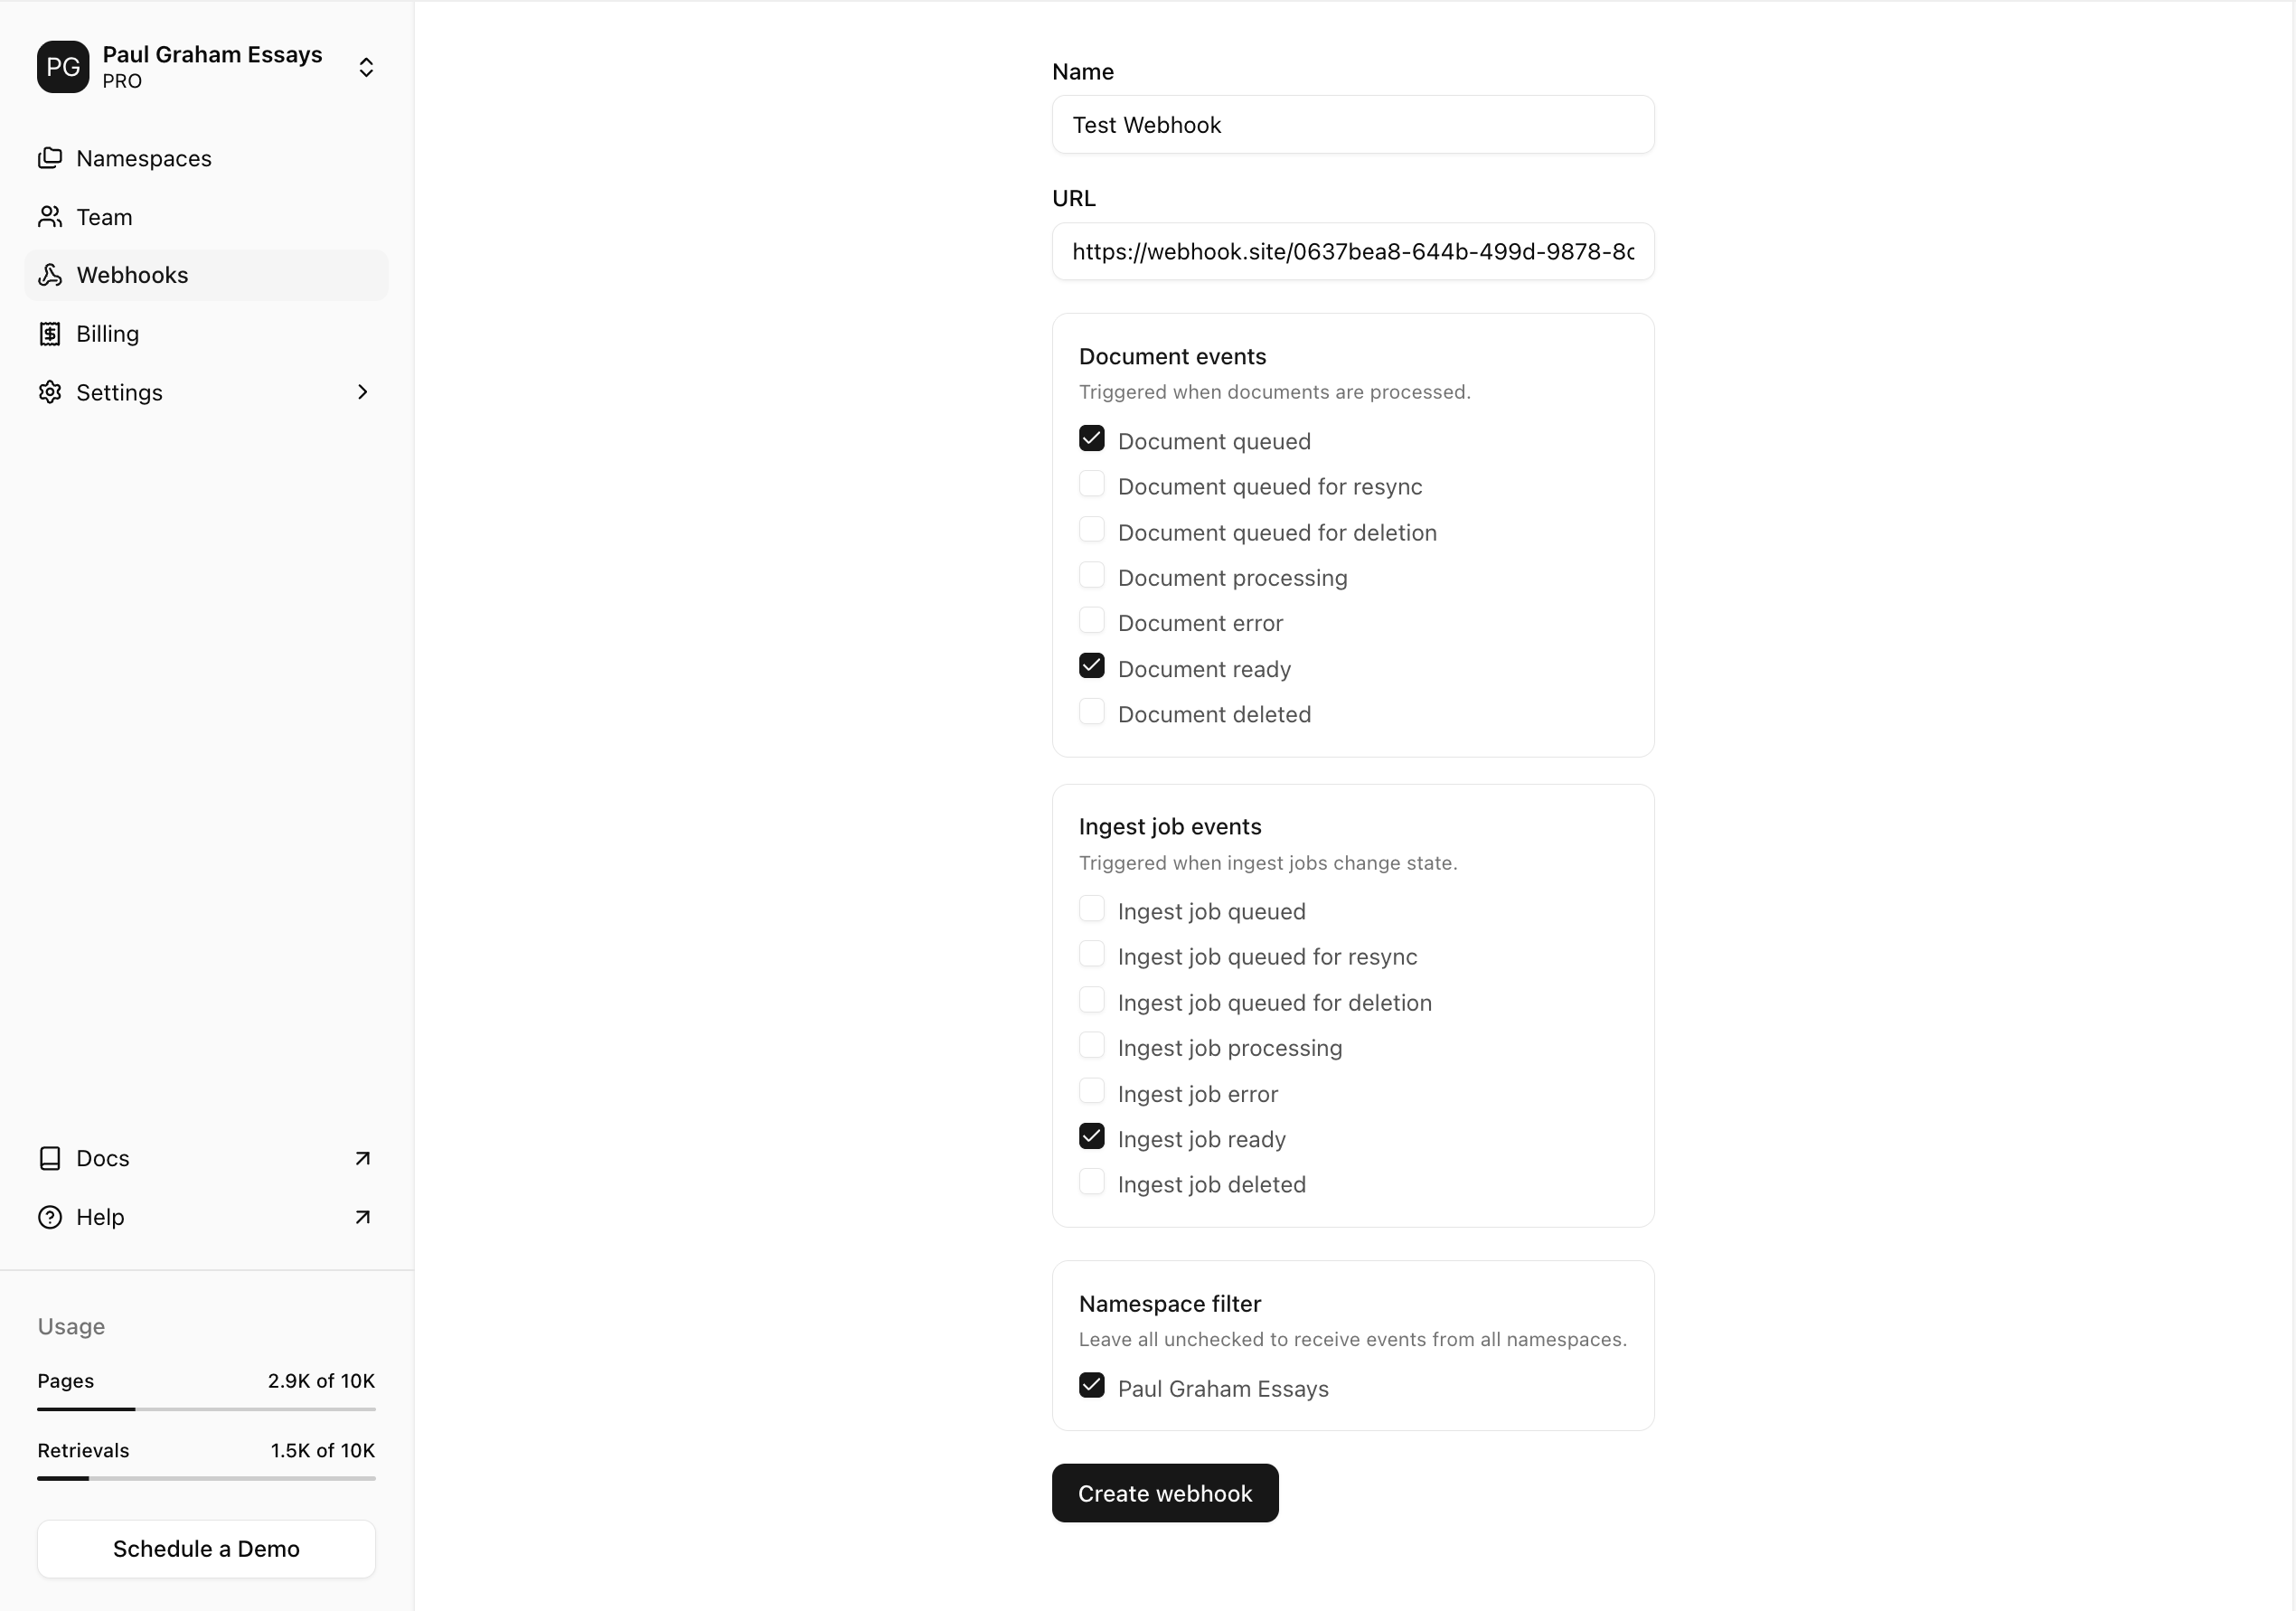
- Name: Give your webhook a name that helps you identify it.
- URL: Enter the URL of the endpoint where you want to receive webhook events. We recommend using webhook.site for testing.
- Events: Select the events you want to listen to. You can select multiple events. See the Event Types section for the full list.
- Namespaces (optional): Select specific namespaces to receive events from. If no namespaces are selected, the webhook receives events from all namespaces in your organization.
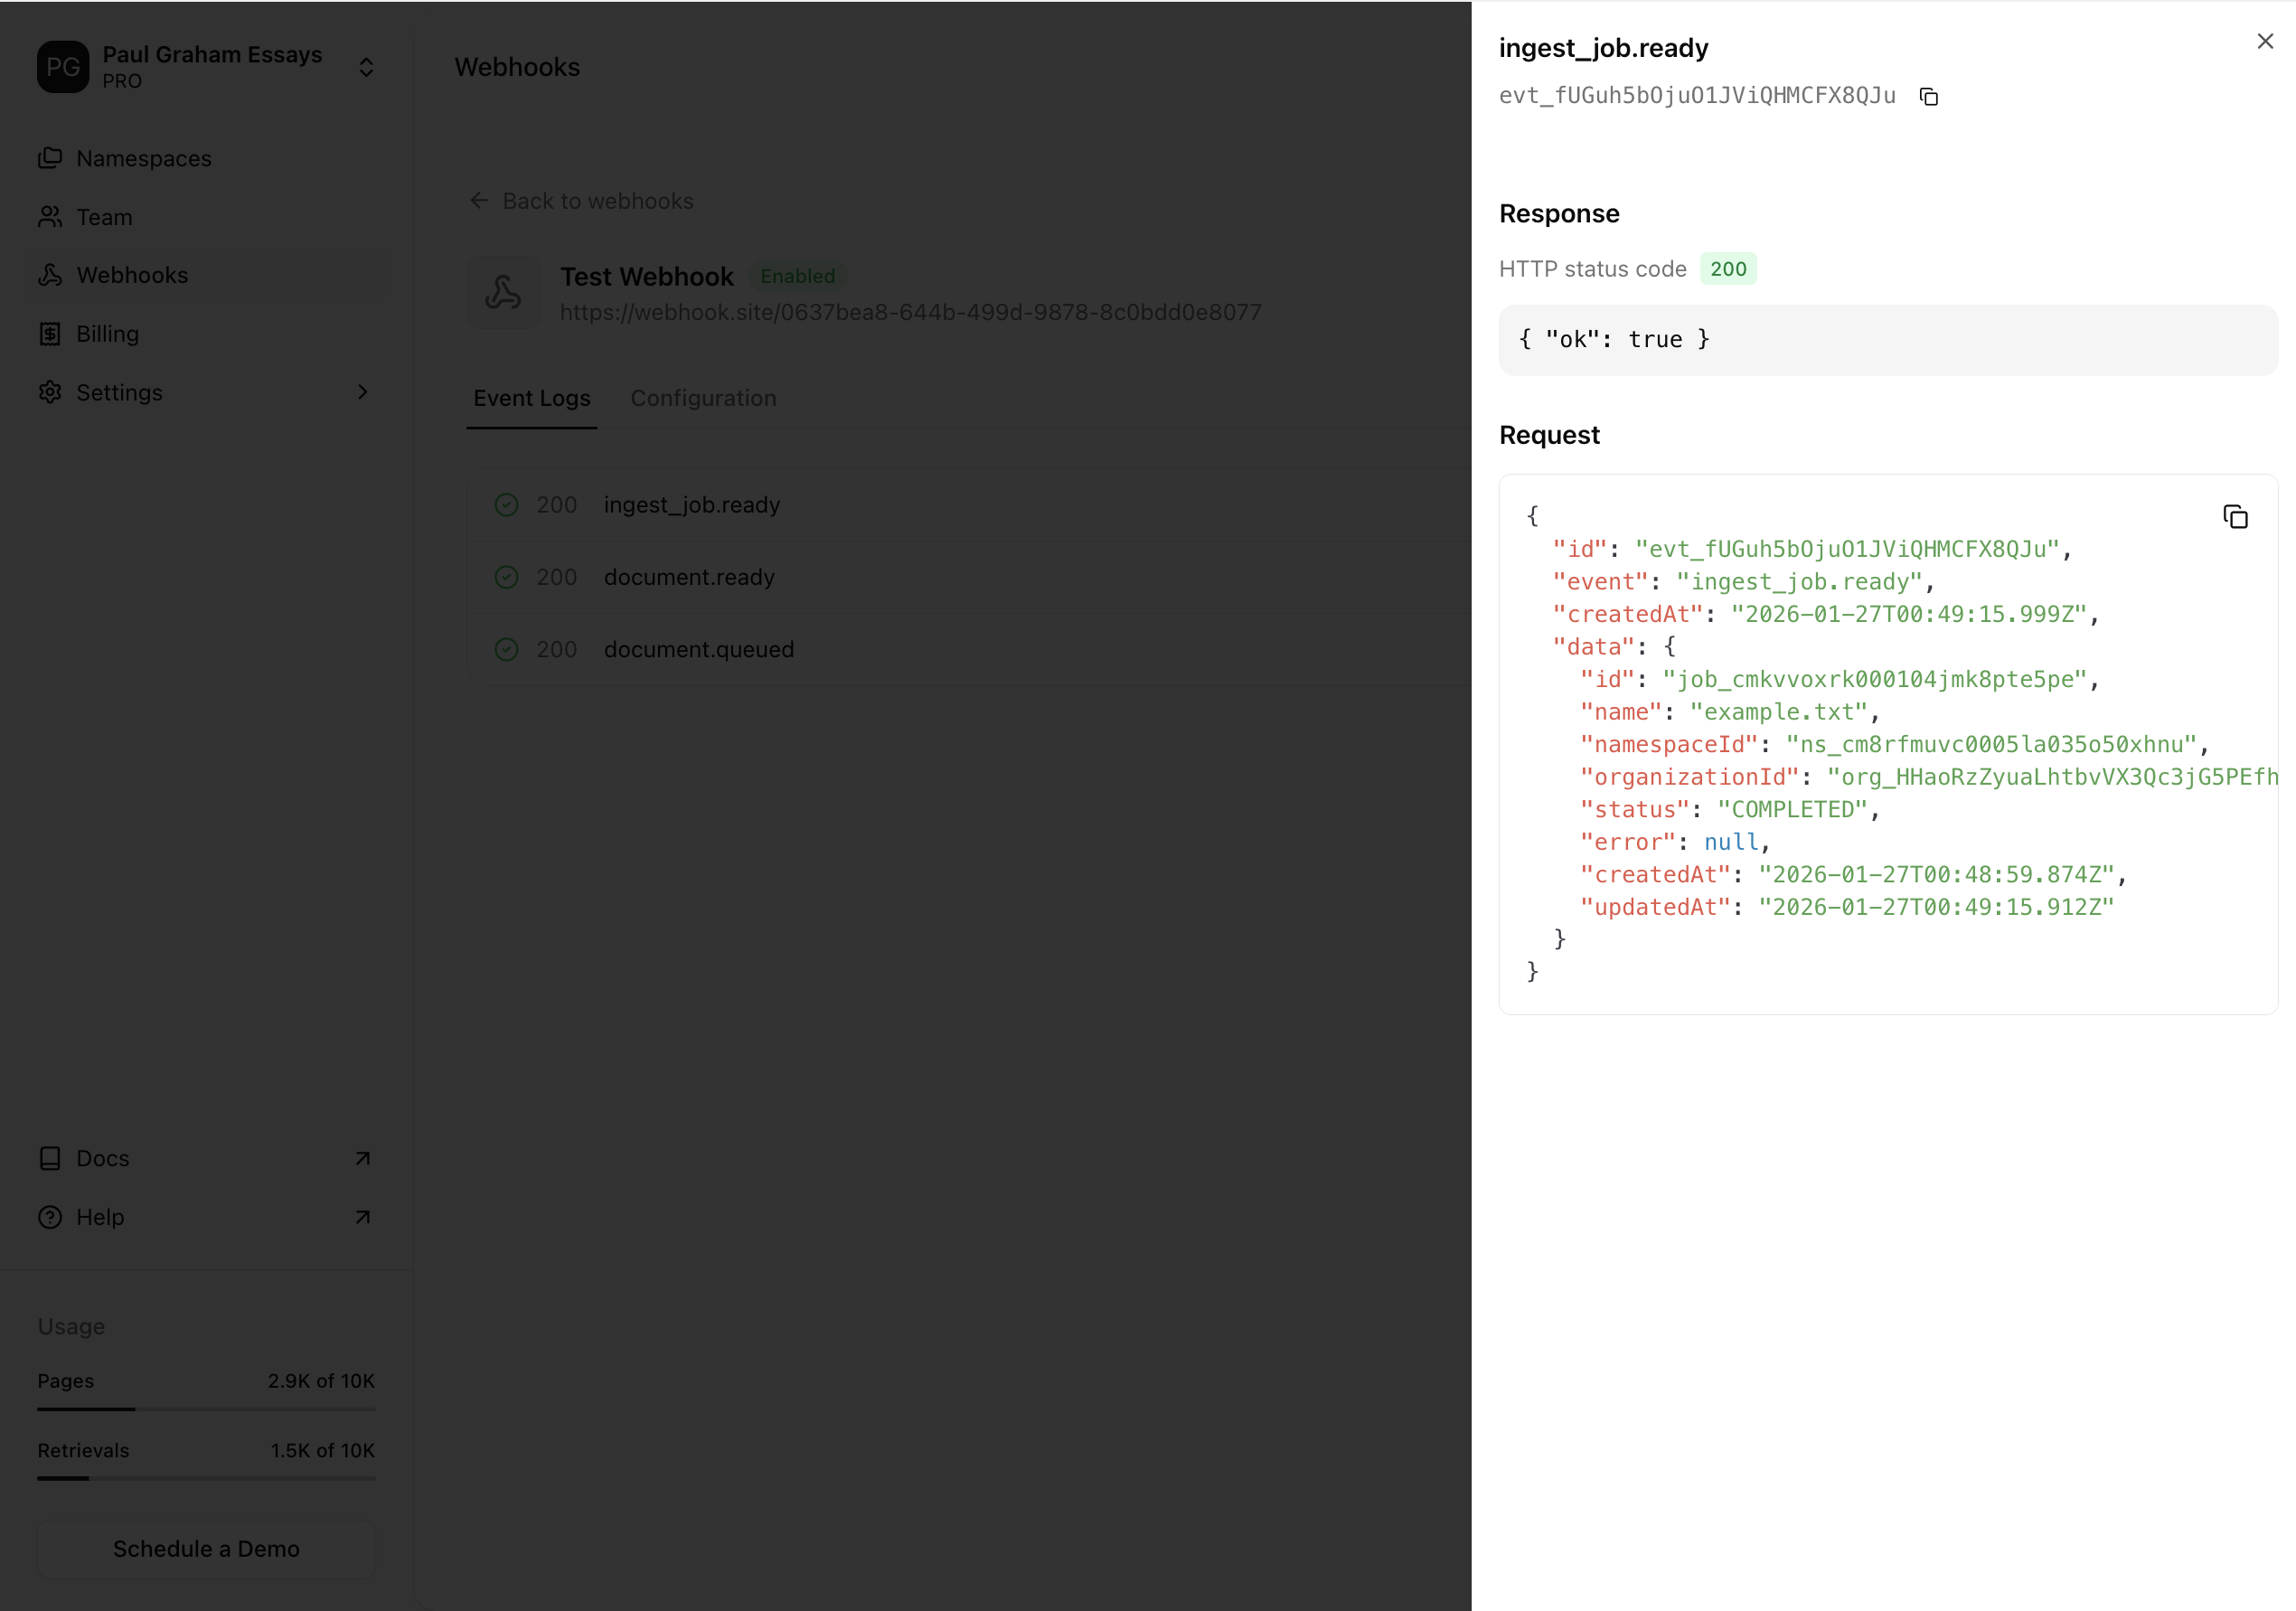
Viewing webhook event logs
Agentset provides a webhook event logs page where you can view all webhook events sent to your endpoint in real-time. To view the webhook event logs, select the webhook from the Webhooks settings page and click on the Webhook Logs tab. Here, you’ll see a list of all the webhook events sent to your endpoint: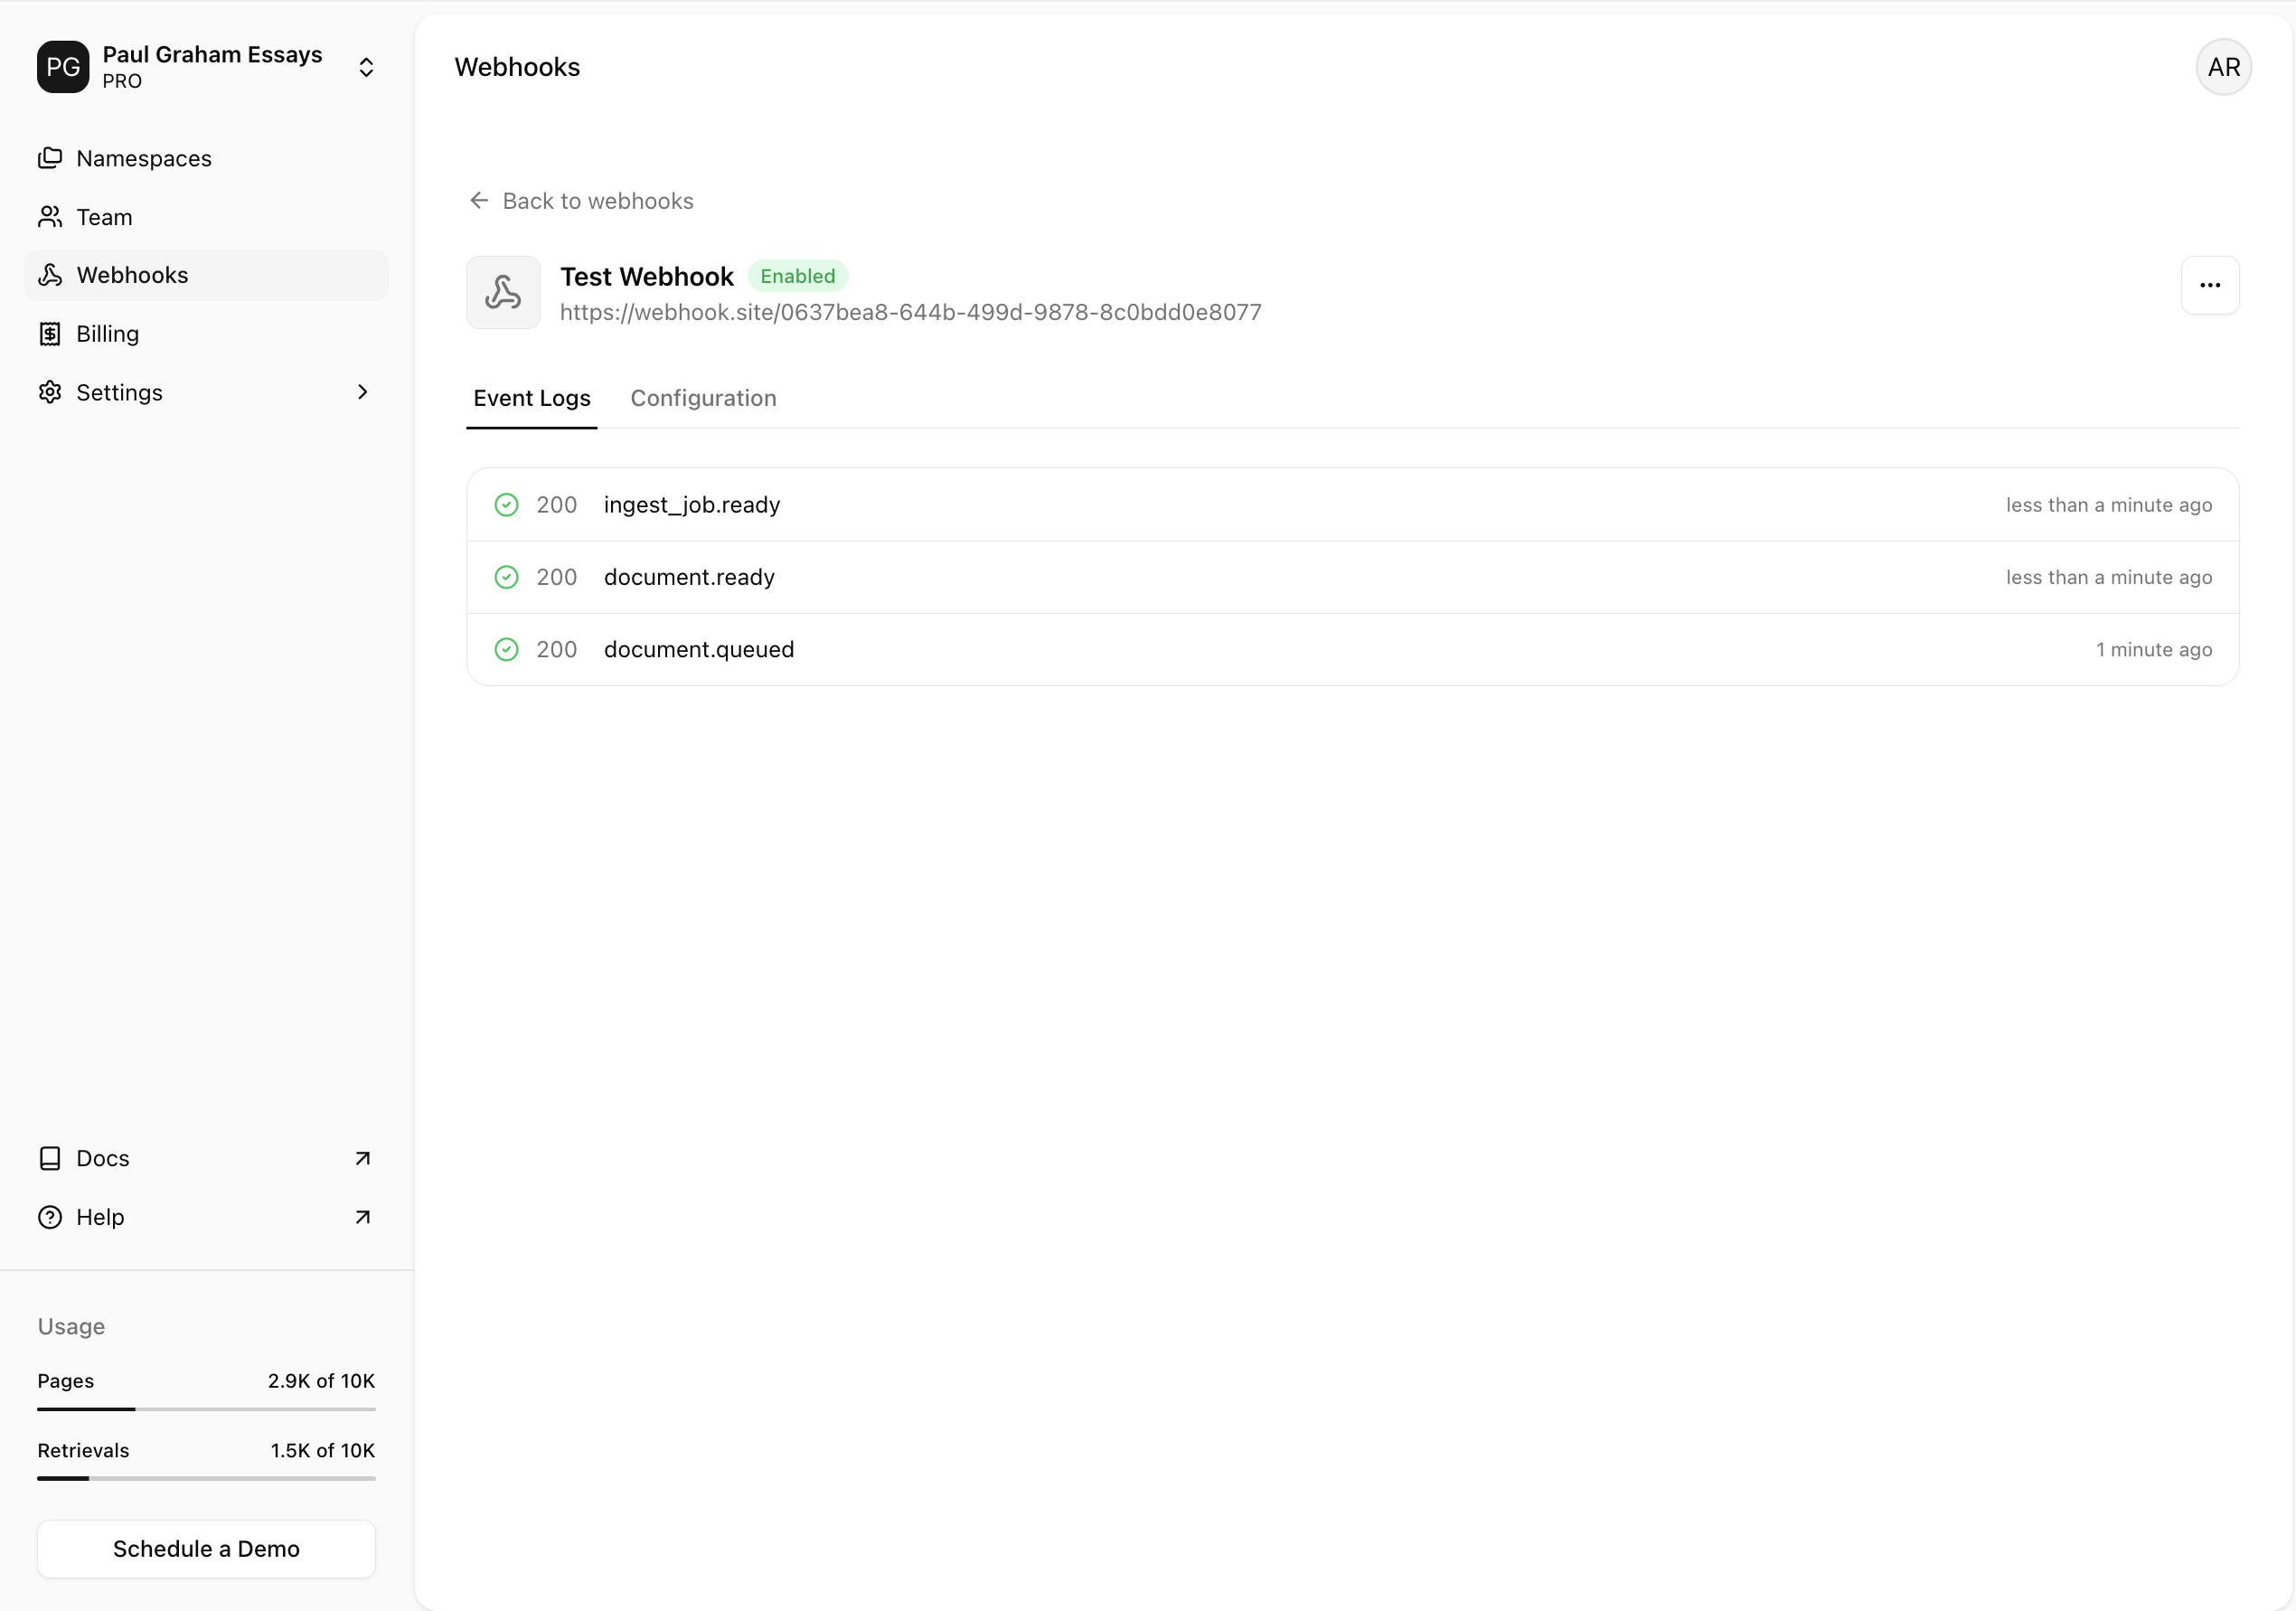
Sending test events
You can send test events to your webhook URL to verify it’s working correctly.1
Go to the webhook details page
Navigate to the Webhooks settings page and select the webhook you want to test.Click on the Update Details tab to open the webhook details page.
2
Open the test event modal
Select the 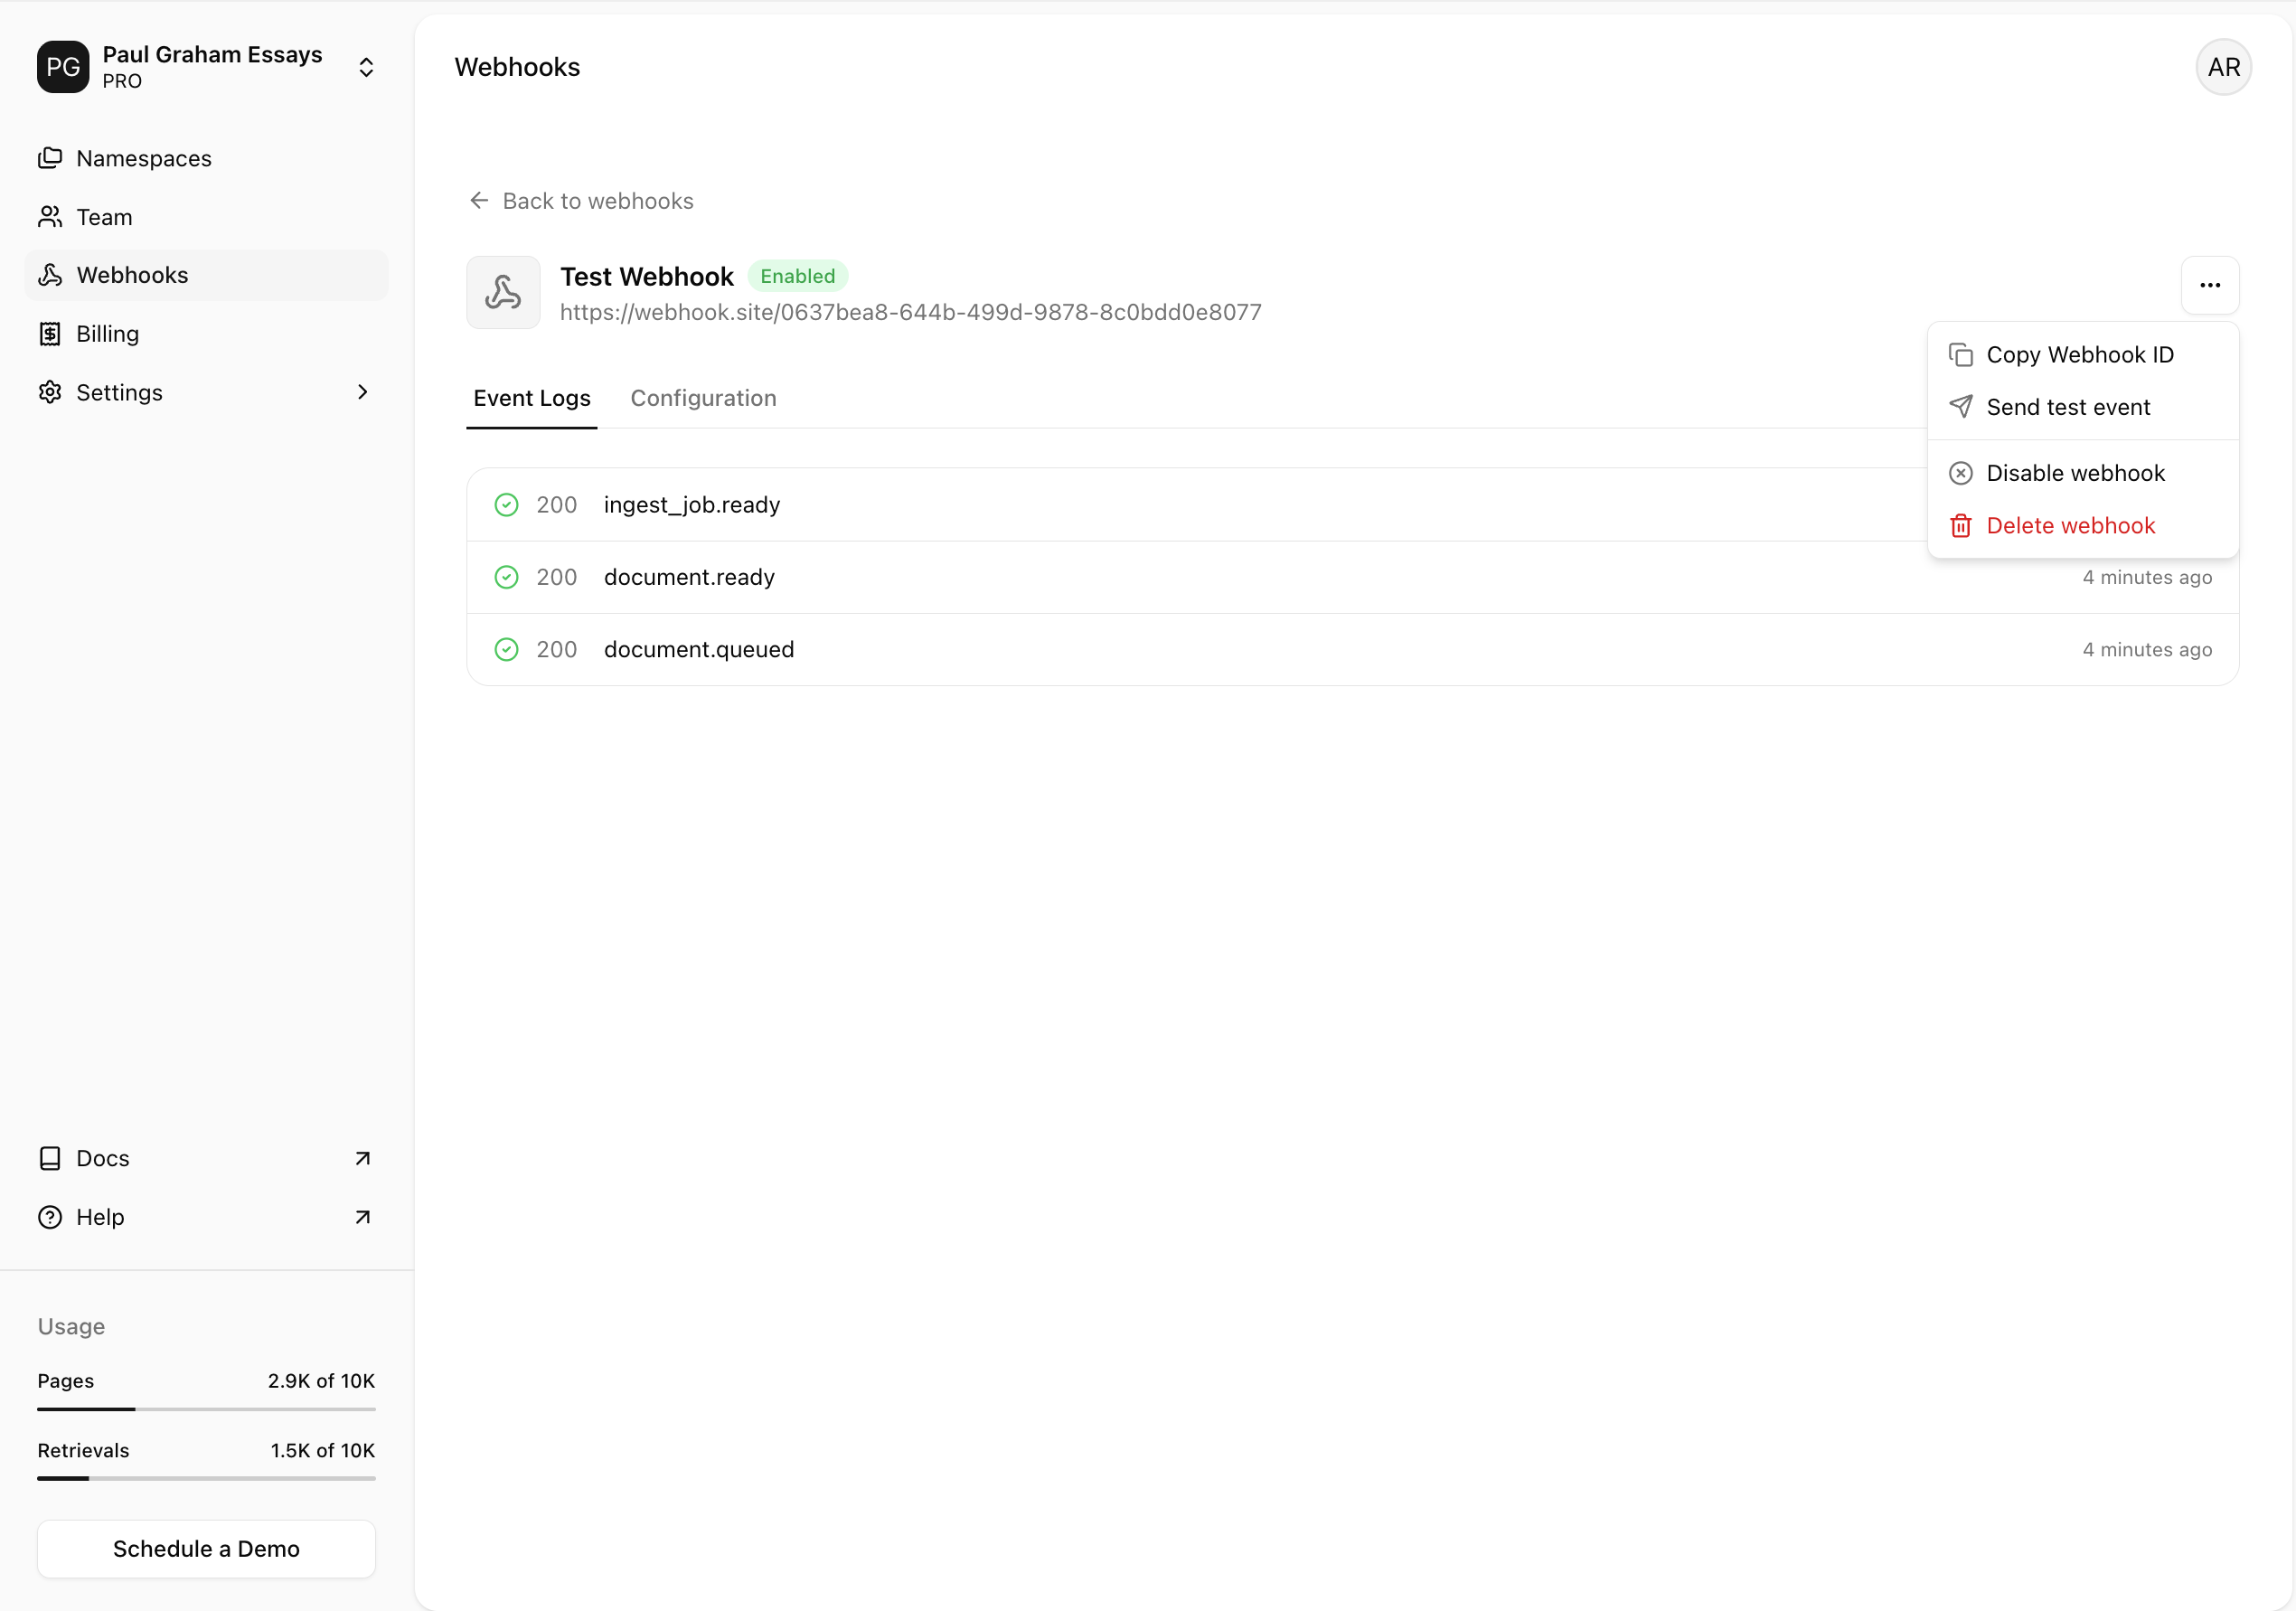
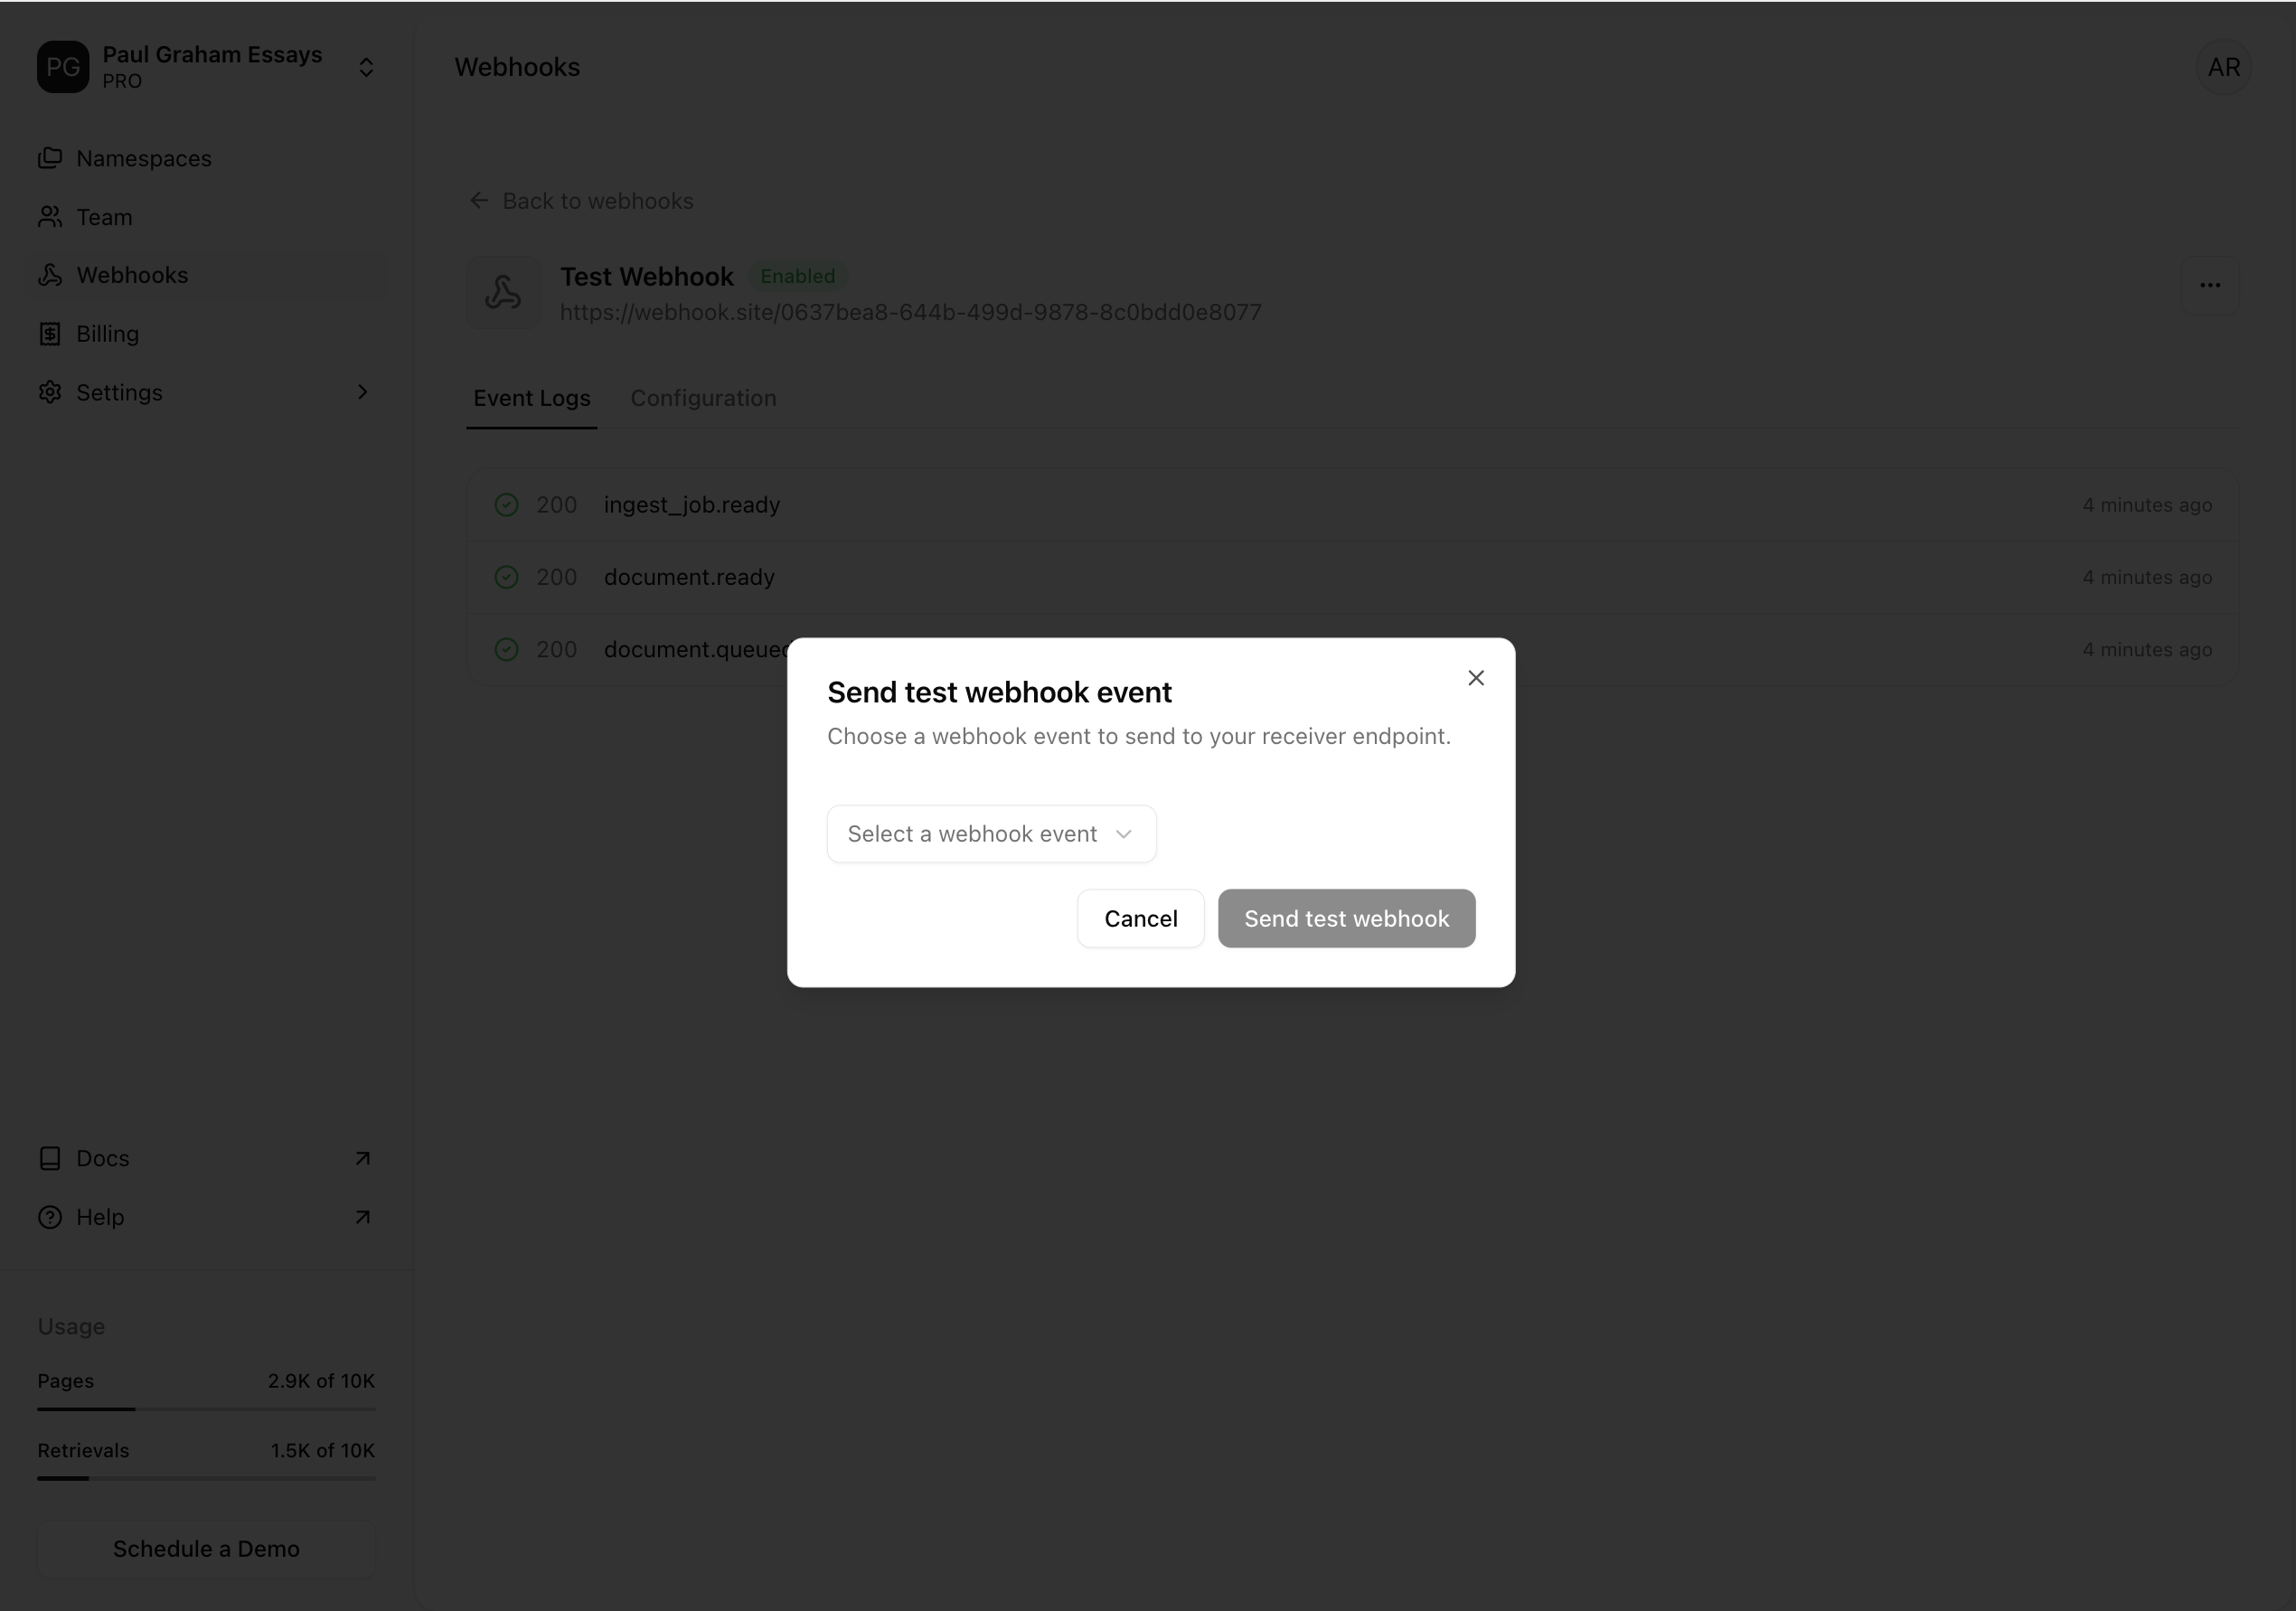
⋮ icon on the top right of the page, and click on Send test event.3
Send the test event
Select the event you want to send, and click Send test webhook.You’ll see a success message and receive the webhook event at the endpoint you specified.
Retry behavior
If your webhook endpoint does not respond with a success status code (2xx) within 20 seconds, Agentset retries the request to ensure delivery. You can see all retry attempts in your webhook event logs. Webhooks are retried with exponential backoff to avoid overwhelming your endpoint. The delay is capped at 24 hours, with a maximum of 10 retry attempts.Temporary disablement
If a webhook endpoint consistently fails, it will be automatically disabled after a series of failed attempts. Notifications are sent to organization owners at the following intervals:- After 5, 10, and 15 consecutive failed attempts.
- On the 20th consecutive failed attempt, the webhook will be disabled.